What We’re Doing
- Creating and configuring a Docker container from scratch with Alpine
- Creating a new Self-Signed Certificate
- Trusting the certificate with our local computer
- Creating a Dockerfile with exchangeable SSL certificates
- Setting up GitHub with automatic Docker Hub builds
Requirements
You just need Docker for this.
- Docker CE
18.09.2 - Mac OS Mojave or Equivalent
Why SSL?
Pure and simple, security. There’s a bunch of other stuff as well, but mainly security.
Alpine Base
To start, we’re going to use Alpine, because it’s the smallest footprint, and can be a good base for security as well. The reason is because there are less dependencies, which mean less chances of exploitation.
We’ll expose port 443 to start because it’s the default port for https.
docker run -it -p 80:80 -p 443:443 --name nginx-alpine-ssl alpine /bin/sh;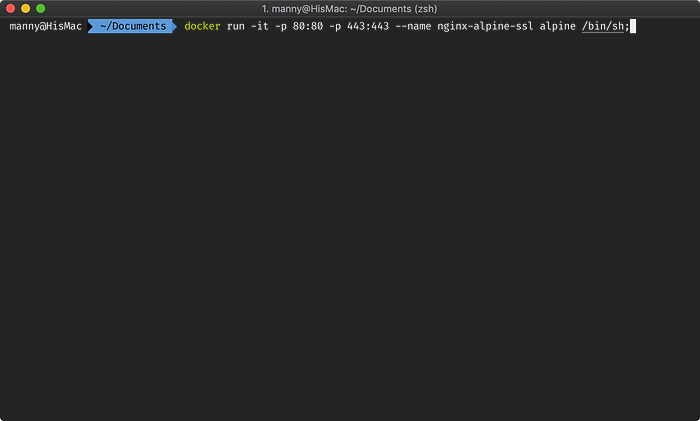
Install Nginx
Let’s install nginx now:
apk add nginx;Make the directory that’s needed for nginx:
mkdir /run/nginx/;Run nginx:
nginx;Testing the server is running with curl
apk add curl;
curl localhost;# Expected output
# <html>
# <head><title>404 Not Found</title></head>
# <body>
# <center><h1>404 Not Found</h1></center>
# <hr><center>nginx</center>
# </body>
# </html>
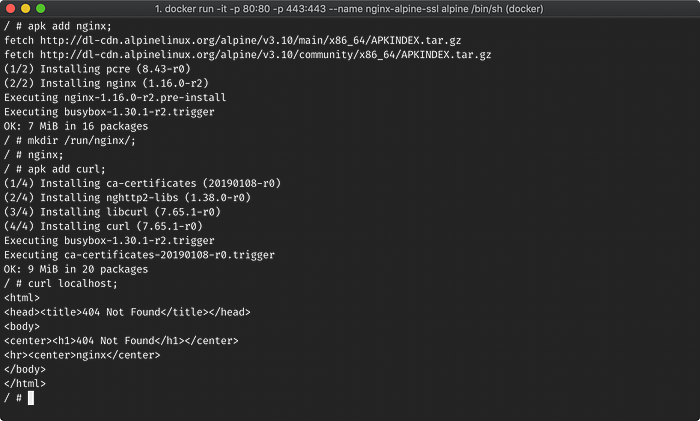
It will show 404 because there is no html file and no configuration setup for nginx to point to a root directory to load files from.
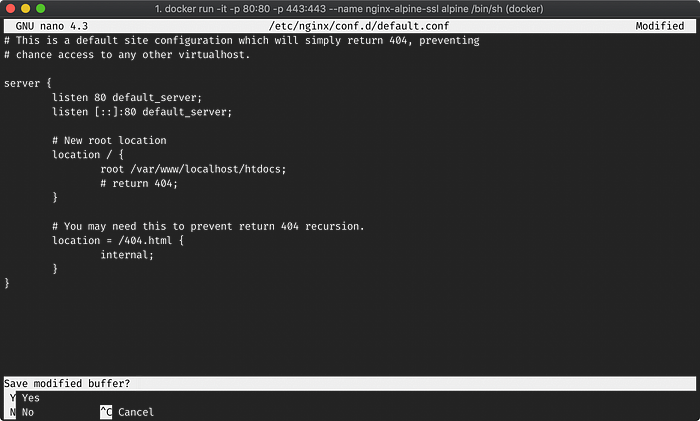
Looking at the default.conf nginx file:
apk add nano;
nano /etc/nginx/conf.d/default.conf
Change it to the following, save and exit:
File: /etc/nginx/conf.d/default.conf
server {
        listen 80 default_server;
        listen [::]:80 default_server;        # New root location
        location / {
                root /var/www/localhost/htdocs;
                # return 404;
        }        # You may need this to prevent return 404 recursion.
        location = /404.html {
                internal;
        }
}
Restart nginx:
nginx -s reload;Create an html in the htdocs folder:
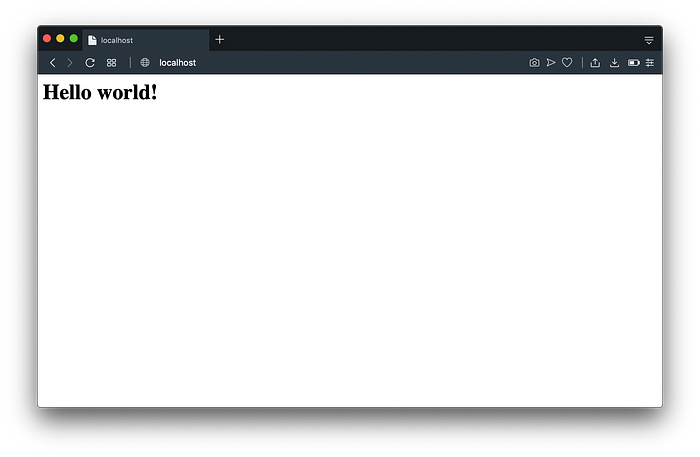
echo "<h1>Hello world!</h1>" > /var/www/localhost/htdocs/index.html;Test that it’s working with curl:
curl localhost;# Expected output
# <h1>Hello world!</h1>
Install OpenSSL
Next we need to use OpenSSL to generate our key and certificate files.
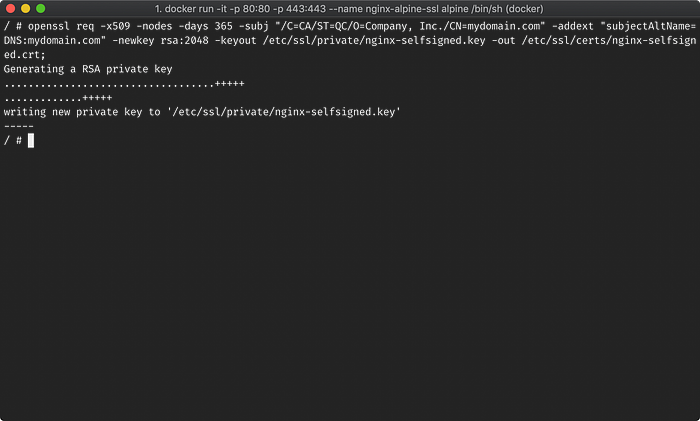
apk add openssl;Create our new key and crt files:
openssl req -x509 -nodes -days 365 -subj "/C=CA/ST=QC/O=Company, Inc./CN=mydomain.com" -addext "subjectAltName=DNS:mydomain.com" -newkey rsa:2048 -keyout /etc/ssl/private/nginx-selfsigned.key -out /etc/ssl/certs/nginx-selfsigned.crt;# Expected Output
# Generating a RSA private key
# .......................................+++++
# ....+++++
# writing new private key to '/etc/ssl/private/nginx-selfsigned.key'
# -----
What Each Options Means
To give some context as to what we’re doing in out openssl options:
req— to specify we want to use-x509-x509— to specify we want to create a self-signed certificate instead of generating a certificate signing request.-nodes— makes it so that we skip the option to secure our certificate with a passphrase, so that nginx can read it.-days 365— specifies how long the certificate would be valid for, which is 365 days.-subj “/C=CA/ST=QC/O=Company, Inc./CN=mydomain.com"— this allows us to specify subject without filling in prompts./Cfor country,/STfor state,/Ofor organization, and/CNfor common name.-addext “subjectAltName=DNS:mydomain.com"— which adds additional attributes to our certificate which is needed to make it a valid certificate seen by both our browser and local machine.-newrsa rsa:2048— specifies that we want to generate both a new certificate and a new key with an RSA key of 2048 bits.-keyout /etc/.../yourfile.key— specifies the location of the output.keyfile.-out /etc/.../yourfile.crt— specifies the location of the output.crtfile.
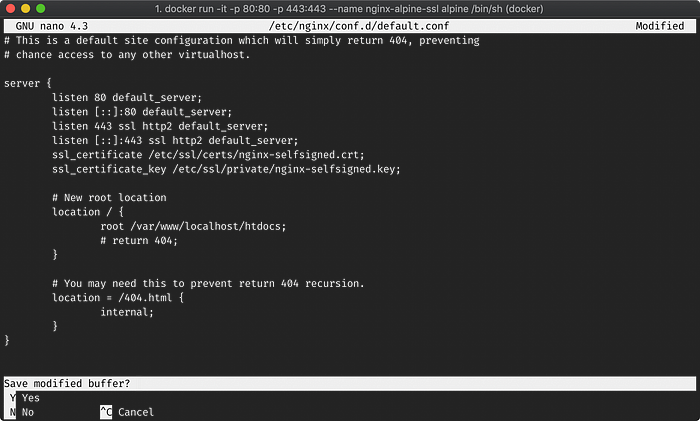
Configure Nginx For SSL
We now need to associate our SSL certificate to our default.conf nginx file.
File: /etc/nginx/conf.d/default.conf
server {
        listen 80 default_server;
        listen [::]:80 default_server;
        listen 443 ssl http2 default_server;
        listen [::]:443 ssl http2 default_server;
        ssl_certificate /etc/ssl/certs/nginx-selfsigned.crt;
        ssl_certificate_key /etc/ssl/private/nginx-selfsigned.key;        # New root location
        location / {
                root /var/www/localhost/htdocs;
                # return 404;
        }        # You may need this to prevent return 404 recursion.
        location = /404.html {
                internal;
        }
}
Save the file, check the file is correct with:
nginx -t;# Expected Output
# nginx: the configuration file /etc/nginx/nginx.conf syntax is ok
# nginx: configuration file /etc/nginx/nginx.conf test is successful
Don’t forget to now reload nginx:
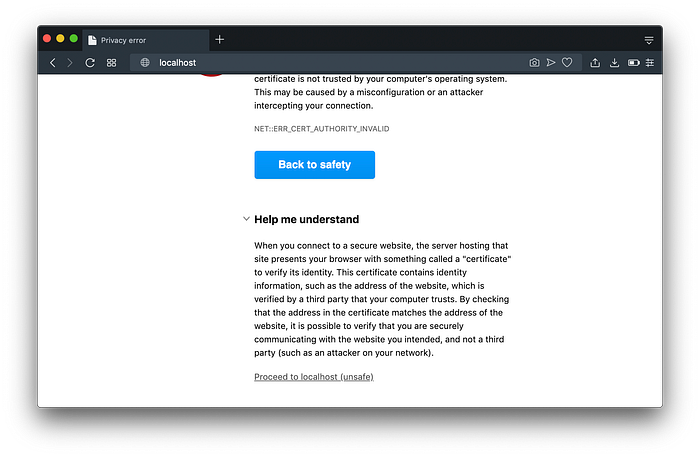
nginx -s reload;Let’s test https with curl:
curl https://localhost;# Expected Output
# curl: (60) SSL certificate problem: self signed certificate
# More details here: https://curl.haxx.se/docs/sslcerts.html# curl failed to verify the legitimacy of the server and therefore could not establish a secure connection to it. To learn more about this situation and how to fix it, please visit the web page mentioned above.
This happens because our SSL certificate is self-signed and not really a legitimate certificate. To get around this, just to see if https is working, run:
curl https://localhost --insecure;# Expected Output
# <h1>Hello world!</h1>

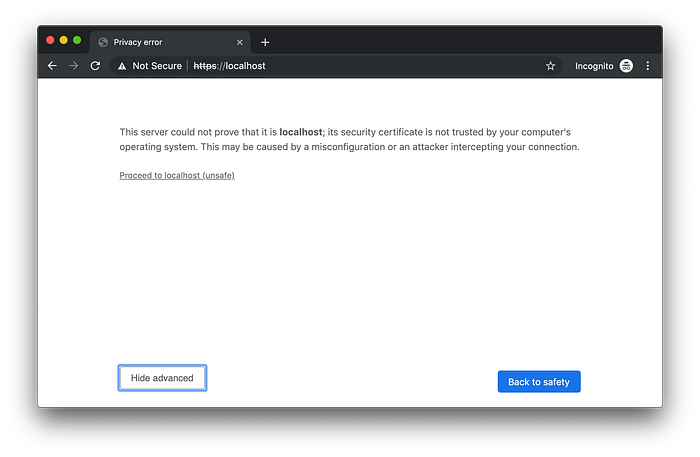
To get around this temporarily in our browser, just click “Help me understand” in Opera or click “Advanced” in Chrome.
Configure Your Computer Host File To Trust Domain
Next we’ll configure out domain mydomain.com to point to localhost or more specifically 127.0.0.1. You’ll need root access for this, with you password, by modifying the hosts file. Make sure to open a new Terminal tab or window, and run:
sudo nano /etc/hosts;File: /etc/hosts
##
# Host Database
#
# localhost is used to configure the loopback interface
# when the system is booting.  Do not change this entry.
##
127.0.0.1       localhost
255.255.255.255 broadcasthost
::1             localhost
127.0.0.1       mydomain.com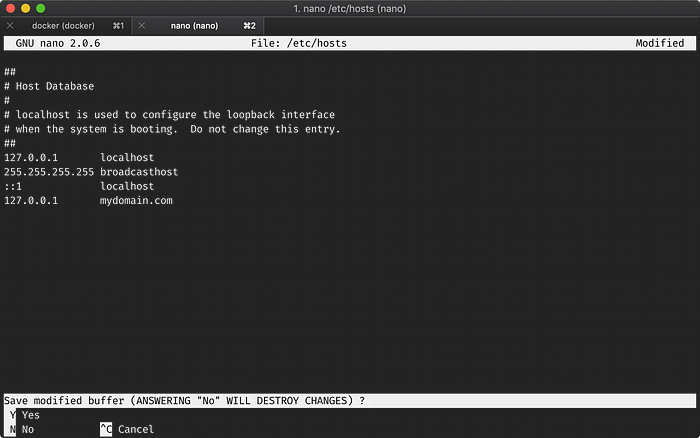
If we open up our browser, we’ll see the following when we visit https://mydomain.com.

We could just get around this temporarily by proceeding to it being unsafe, but we’ll take the next steps to make mydomain.com trusted by our local computer.
Trust Domain With Local Computer
In order for us to trust the domain, we need to copy and place the crt (certificate) in our Keychain Access.
First we need to get a copy of that certificate in the Docker container. In a new Terminal window or tab, run:
docker cp nginx-alpine-ssl:/etc/ssl/certs/nginx-selfsigned.crt ~/Desktop;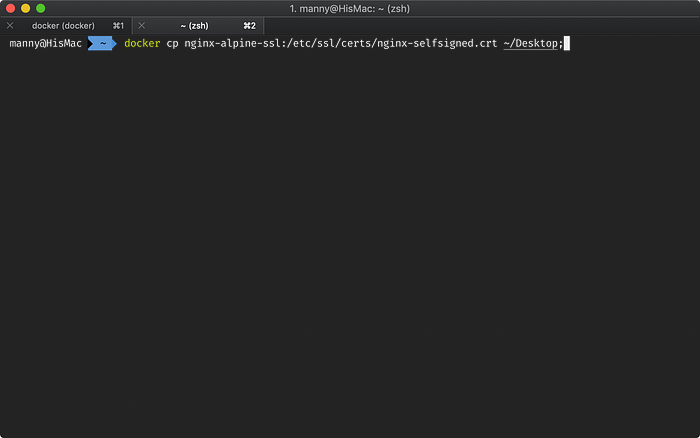
Open up you Keychain Access app.
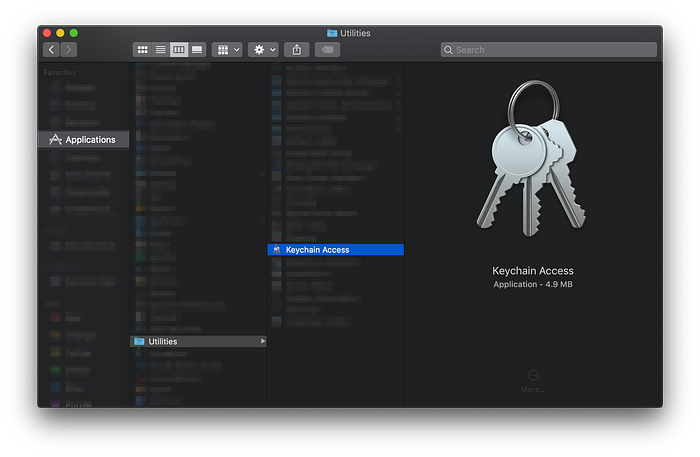
When the Keychain Access app loads up, on the left side bar, select Certificates. Drag the newly copied nginx-selfsigned.crt file from the Desktop to Keychain Access.
Next we need to make sure the certificate is trust by our computer. Double click on the newly added certificate, click the Trust dropdown and set “When using this certificate” to Always Trust.

Close the window the mydomain.com certificate window. You will be prompted to enter your computer password to validate and confirm the change.
Now open up https://mydomain.com.

You’ll see the domain is now working with https and it displays a green 🔒icon.
Dockerfile
Next we’ll create a Docker file with some configuration files and an entrypoint.sh script.
For this we’ll create a new folder and copy our key and crt files to a newly created config folder, as long with our modified nginx configuration default.conf file.
Creating our new folders:
mkdir ~/Documents/nginx-alpine-ssl;
mkdir ~/Documents/nginx-alpine-ssl/config;
Copying our files:
# certificate
docker cp nginx-alpine-ssl:/etc/ssl/certs/nginx-selfsigned.crt ~/Documents/nginx-alpine-ssl/config;# private key
docker cp nginx-alpine-ssl:/etc/ssl/private/nginx-selfsigned.key ~/Documents/nginx-alpine-ssl/config;# nginx configuration file
docker cp nginx-alpine-ssl:/etc/nginx/conf.d/default.conf ~/Documents/nginx-alpine-ssl/config;
Creating our Dockerfile:
touch ~/Documents/nginx-alpine-ssl/Dockerfile;File: /Dockerfile
# BASE
FROM alpine# RUN
RUN apk add nginx; \
    mkdir /run/nginx/; \
    echo "<h1>Hello world!</h1>" > /var/www/localhost/htdocs/index.html;# CONFIGUTATIONS
# nginx configuration
ADD $PWD/config/default.conf /etc/nginx/conf.d/default.conf# keys and certs
ADD $PWD/config/*.key /etc/ssl/private/
ADD $PWD/config/*.crt /etc/ssl/certs/WORKDIR /var/www/localhost/htdocs# ENTRYPOINT
COPY $PWD/config/entrypoint.sh /usr/local/binRUN chmod +x /usr/local/bin/entrypoint.shENTRYPOINT ["/bin/sh", "/usr/local/bin/entrypoint.sh"]# EXPOSE PORTS
EXPOSE 80EXPOSE 443# RUN COMMAND
CMD ["/bin/sh", "-c", "nginx -g 'daemon off;'; nginx -s reload;"]
Creating Our Entrypoint Script:
This will be our script that will run at run time and we want to add some environment variables to add the ability to change the certificate and key out.
touch ~/Documents/nginx-alpine-ssl/config/entrypoint.shFile: /config/entrypoint.sh
# Main shell script that is run at the time that the Docker image is run# Go to default.conf directory
cd /etc/nginx/conf.d;# ENV VARS
# A list of environment variables that are passed to the container and their defaults# CRT - double check that the file exists
export CRT="${CRT:=nginx-selfsigned.crt}";
if [ -f "/etc/ssl/certs/$CRT" ]
then
    # set crt file in the default.conf file
    sed -i "/ssl_certificate \//c\\\tssl_certificate \/etc\/ssl\/certs\/$CRT;" default.conf;
fi# KEY - double check that the file exists
export KEY="${KEY:=nginx-selfsigned.key}";
if [ -f "/etc/ssl/private/$KEY" ]
then
    # set key file in the default.conf file
    sed -i "/ssl_certificate_key \//c\\\tssl_certificate_key \/etc\/ssl\/private\/$KEY;" default.conf;
fi# Needed to make sure nginx is running after the commands are run
nginx -g 'daemon off;'; nginx -s reload;
Making A Build
To test the Dockerfile, let’s make a build by running the following in the root directory of the project:
docker build . -t nginxssltest;Running Our Container
Let’s run our container and then do a curl test:
docker run -it -d -p 80:80 -p 443:443 --name test nginxssltest;curl localhost;# Expected output
# <h1>Hello world!</h1>curl https://localhost --insecure;# Expected output
# <h1>Hello world!</h1>
If we open up our browser, with our certificate trusted by our computer, we can see it works:
Testing Different Keys
Now that we see that it’s working, let’s test another domain with different generated keys.
First, let us modify out hosts file to add a new domain to it.
sudo nano /etc/hosts;File: /etc/hosts
##
# Host Database
#
# localhost is used to configure the loopback interface
# when the system is booting.  Do not change this entry.
##
127.0.0.1 localhost
255.255.255.255 broadcasthost
::1             localhost
127.0.0.1 mydomain.com
127.0.0.1 newdomain.com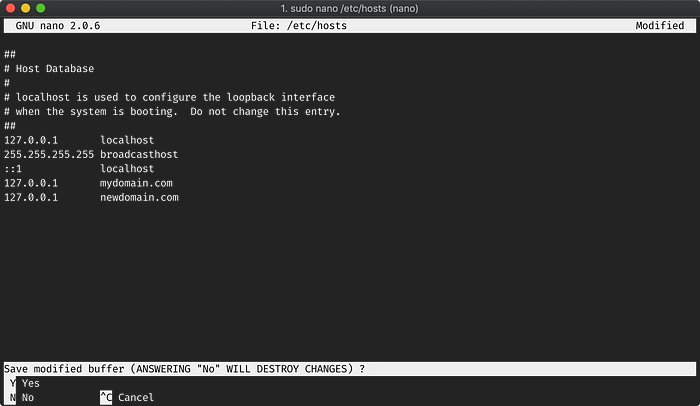
Generate New Certificate & Key
Next, we’ll generate new crt and key files in a new folder called certkey. To do this though, Mac OS doesn’t support -addext and instead of going the route of trying to reconfiguring our local openssl.conf file, we’ll just use an alpine docker image as a one time use to generate the keys we need.
mkdir ~/Documents/nginx-alpine-ssl/certkey;cd ~/Documents/nginx-alpine-ssl;# --rm will remove the container after it's run
docker run --rm -v $PWD/certkey:/usr/share alpine /bin/sh -c "apk add openssl; openssl req -x509 -nodes -days 365 -subj \"/C=CA/ST=QC/O=Company, Inc./CN=newdomain.com\" -addext \"subjectAltName=DNS:newdomain.com\" -newkey rsa:2048 -keyout /usr/share/new-selfsigned.key -out /usr/share/new-selfsigned.crt;"
Add Our Certificate To Keychain Access
Drag our newly created new-selfsigned.crt to theKeychain Access app.
Running Container With New Keys
Now we have our new crt and key files located in our new certkey folder. With them, we can use them with our new environment variables defined by our entrypoint.sh file:
# -v is mounting both to the certs and private folder in docker
# -e CRT=name of certificate
# -e KEY=name of keydocker run -it -d -v $PWD/certkey:/etc/ssl/private/ -v $PWD/certkey:/etc/ssl/certs/ -e CRT=new-selfsigned.crt -e KEY=new-selfsigned.key -p 80:80 -p 443:443 --name newssl nginxssltest;
If we open our browser now to https://newdomain.com, we’ll see:

Docker Hub Automatic Builds
This next part is to bring it all together with a GitHub repository and a connected Docker Hub repository that creates automatic builds for us to use.
Connecting With GitHub
In the root of our project, let’s get our repo setup:
# create your new repocurl -u {github-username} \
--url https://api.github.com/user/repos \
-d "{\"name\":\"nginx-alpine-ssl\"}";# if you have two-factor authentication use
# curl -u {github-username} \
# --url https://api.github.com/user/repos \
# --header 'x-github-otp: {your-code}' \
# -d "{\"name\":\"nginx-alpine-ssl\"}";# initiate git
git init;# link new repo
git remote add origin "https://github.com/{your-github-username}/nginx-alpine-ssl.git"
Creating Documentation Files
# create a .gitignore file
echo ".DS_Store\ncertkey" > .gitignore;# create a README.md file
echo "# Nginx Alpine SSL\n\nThis will create a basic nginx ssl enabled http server that runs on alpine.\n\n## Requirements\n\n- Docker CE\n\n## Options\n\n\`-e CRT={your-cert-name.crt}\` - allows you to specify your own \`crt\` file  (note there is a default for mydomain.com).\n\n\`-e KEY={your-private-key.key}\` - allows you to specify your own \`key\` file (note there is a default for mydomain.com).\n\n## Generate Your Own Self-Signed SSL\n\n\`\`\`bash\ndocker run --rm -v \$PWD/local/path:/usr/share alpine /bin/sh -c \"apk add openssl; openssl req -x509 -nodes -days 365 -subj \\\"/C=CA/ST=QC/O=Company, Inc./CN=yourdomain.com\\\" -addext \\\"subjectAltName=DNS:yourdomain.com\\\" -newkey rsa:2048 -keyout /usr/share/your-key-name.key -out /usr/share/your-cert-name.crt;\"\n\`\`\`\n\n## Example Run\n\n\`\`\`bash\ndocker run -it -d -v \$PWD/local/path:/etc/ssl/private/ -v \$PWD/local/path:/etc/ssl/certs/ -e CRT=your-cert-name.crt -e KEY=your-private-key.key -p 80:80 -p 443:443 --name container-name {docker-hub-user}/{docker-hub-repo};\n\`\`\`" > README.md;
Committing + Pushing Our Code
git add .;
git commit -m "INIT: Initial commit."
git push origin master;
Creating A New Docker Hub Repository
We’ll need to create a new Docker Hub repository and make sure it’s connected to our GitHub repository.

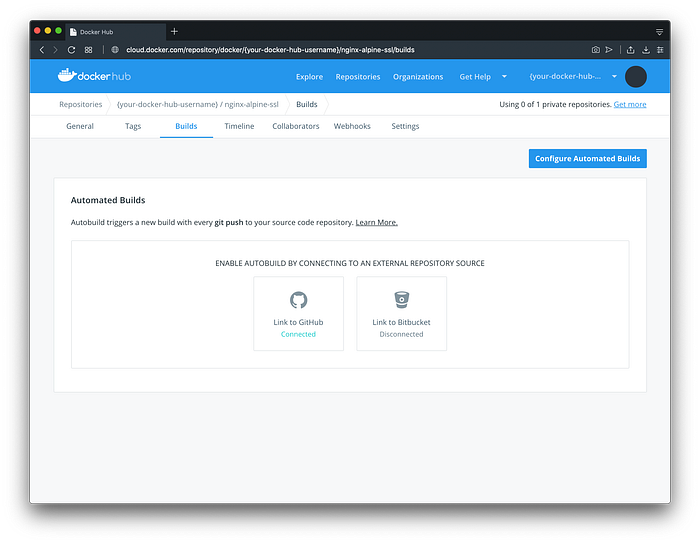
Find our GitHub repository and keep to these basic settings.

Click Save and the automatic building will begin.
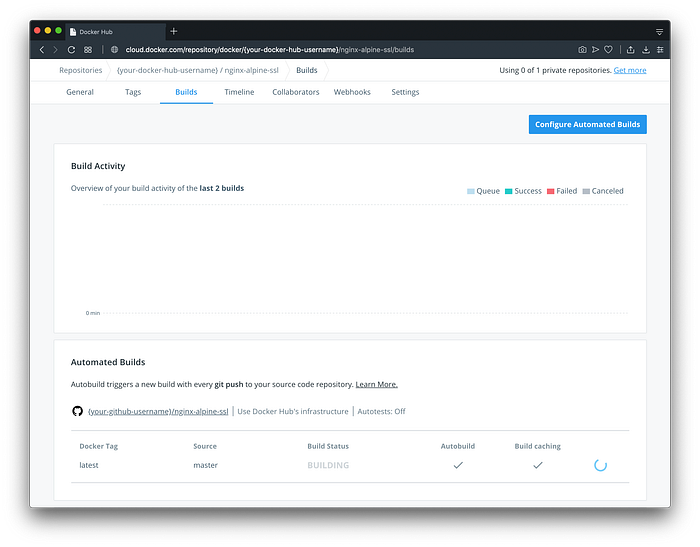
NOTE: You might need to refresh the page to see the latest build status.
Running Your New Docker Image
Once the Docker image is built, you can pull and run your new image. All you need to do is run:
docker run -it -d -p 80:80 -p 443:443 --name nginxssl {docker-hub-username}:{docker-hub-repo};Where To Go From Here
This image works well even for valid certificates, so you could validate a new certificate with Let’s Encrypt and pass that along as an environment variable with a mounted folder. Additionally you could take advantage of turning your nginx Docker container into a reverse proxy and have multiple containers under one SSL certificate.
If you got value from this, and/or if you think this can be improved, please let me know in the comments.
Please share it on twitter 🐦 or other social media platforms. Thanks again for reading. 🙏
Please also follow me on twitter: @codingwithmanny and instagram at @codingwithmanny.