Custom WordPress Docker Setup
Building an ideal Docker setup for WordPress, PHP, MySQL, and NGINX
Starting Alpine Setup & Configuration
Let’s start off by creating a fresh build of alpine to get PHP and NGINX configured correctly.
docker run -it -p 80:80 --name lemp alpine /bin/shInstalling NGINX
While inside the container, we need to install nginx to start;
apk update;
apk add nginx;
To get nginx to work correctly it needs to assign a PID (process identification) number. It does this but automatically assigning it to a directory, but by default that directory does not exist, so we need to create it manually.
Before folder is created:
nginx# [Expected Output]
# nginx: [emerg] open() "/run/nginx/nginx.pid" failed (2: No such file or directory)
After creating the folder:
mkdir /run/nginx;
nginx;# [Expected Output]
# [blank]
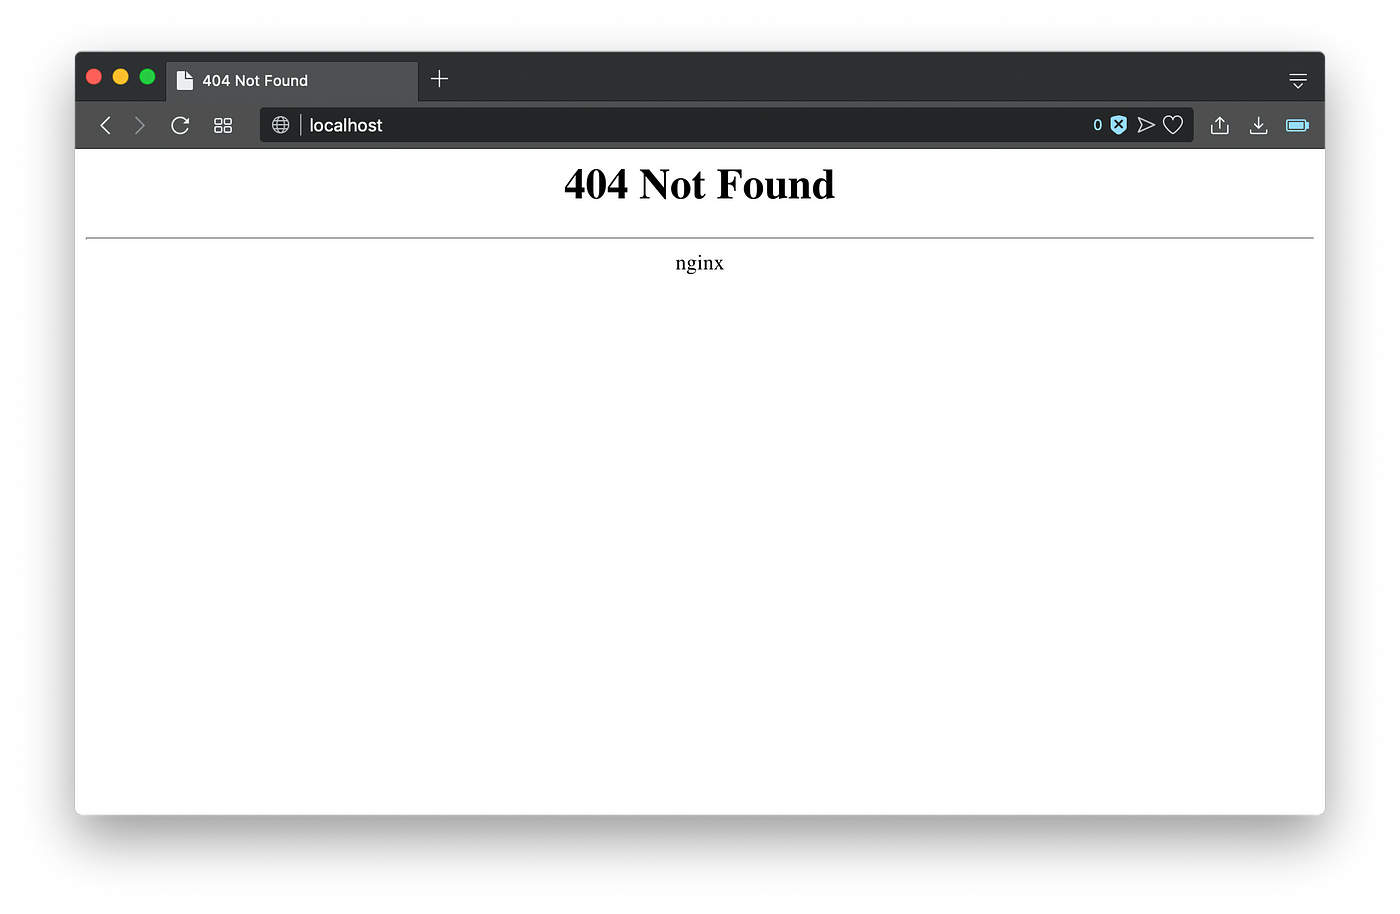
We can now check the browser to see if it’s running, which a 404 should show.
Installing PHP
Next is to install PHP and have it configured with nginx:
apk add php-fpm;
apk add nano; # to edit files with
Next, let’s modify the /etc/nginx/conf.d/default.conf file to allow for php:
nano /etc/nginx/conf.d/default.conf;Before
# This is a default site configuration which will simply return 404, preventing
# chance access to any other virtualhost.server {
 listen 80 default_server;
 listen [::]:80 default_server;# Everything is a 404
 location / {
  return 404;
 }# You may need this to prevent return 404 recursion.
 location = /404.html {
  internal;
 }
}
After
# This is a default site configuration which will simply return 404, preventing
# chance access to any other virtualhost.server {
 listen 80 default_server;
 listen [::]:80 default_server;

 root   /var/www/localhost/htdocs;
 index  index.php index.html index.htm;location / {
  try_files $uri $uri/ /index.php?$query_string;
 }# You may need this to prevent return 404 recursion.
 location = /404.html {
  internal;
 }# pass the PHP scripts to FastCGI server listening on 127.0.0.1:9000location ~ \.php$ {
  try_files $uri /index.php =404;
  fastcgi_split_path_info ^(.+\.php)(/.+)$;
  fastcgi_pass   0.0.0.0:9000;
  fastcgi_index  index.php;
  fastcgi_param SCRIPT_FILENAME $document_root$fastcgi_script_name;
  include fastcgi_params;
 }}
Save the file and check if there are no errors with the config file with nginx:
nginx -t;# [Expected Output]
# nginx: the configuration file /etc/nginx/nginx.conf syntax is ok
# nginx: configuration file /etc/nginx/nginx.conf test is successful
Restart nginx and start php-fpm:
nginx -s reload;# in case php-fpm is giving you issues, kill it and restart it
killall -KILL php-fpm7;
/usr/sbin/php-fpm7;
Create a new file in /var/www/localhost/htdocs:
index.php
<?php phpinfo();Open up http://localhost

Connecting WordPress
At the time of this tutorial, we’ll be using WordPress 4.9.8
git clone https://github.com/WordPress/WordPress;
cd WordPress;
Let’s start by creating a config folder and copying our default.conf file from our existing container to saves those configurations.
mkdir config;
docker cp lemp:/etc/nginx/conf.d/default.conf config/default.conf;
Let’s kill our container and work on creating a Dockerfile;
docker rm -f lemp;Creating Dockerfile
We’re create a base and add more libraries as we go along:
Dockerfile
FROM alpineEXPOSE 80RUN apk update && \
    apk add nginx && \
    apk add php-fpm && \
    apk add php-mysqli && \
    mkdir /run/nginx;ADD config/default.conf /etc/nginx/conf.d/default.confCMD ["/bin/sh", "-c", "/usr/sbin/php-fpm7; exec nginx -g 'daemon off;';"]WORKDIR /var/www/localhost/htdocs
Now that we have our environment for Docker let’s do a build and work with that file:
docker build . -t lempenvRun the application now to see WordPress installed. Run this command while in the repository directory:
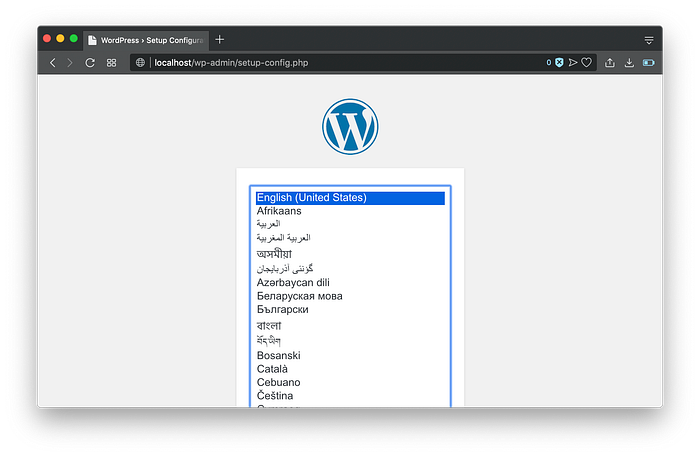
docker run -it -d -v $PWD:/var/www/localhost/htdocs -p 80:80 --name mywp lempenvOpen up http://localhost:
Adding A Database
In order for us to connect a database we’ll need to work on creating a network so that they can refer to each other easier.
Creating MySQL Database
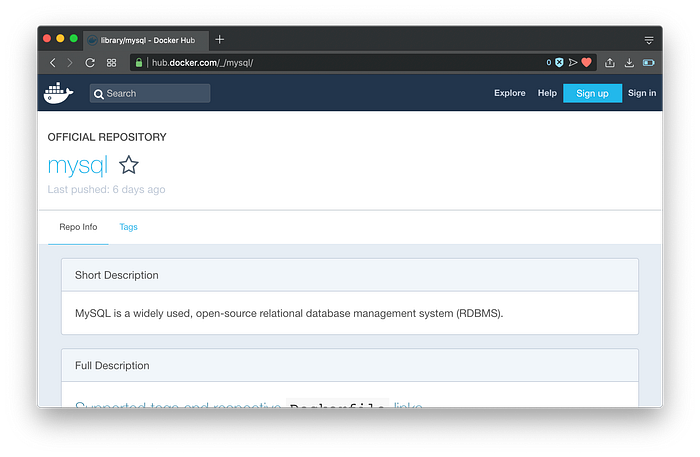
We’ll be using the latest image of MySQL from Docker Hub.
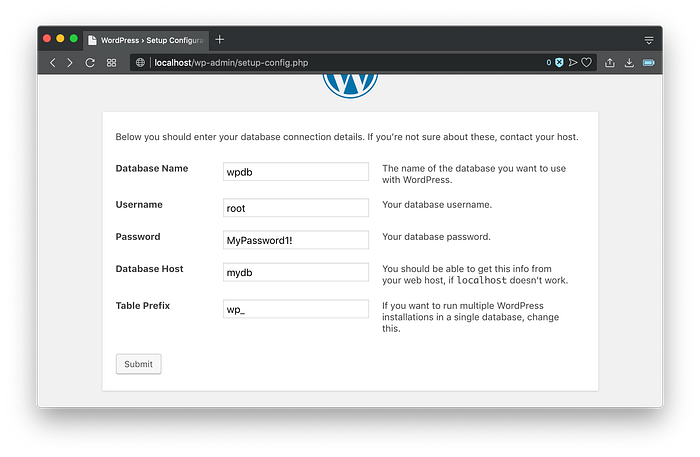
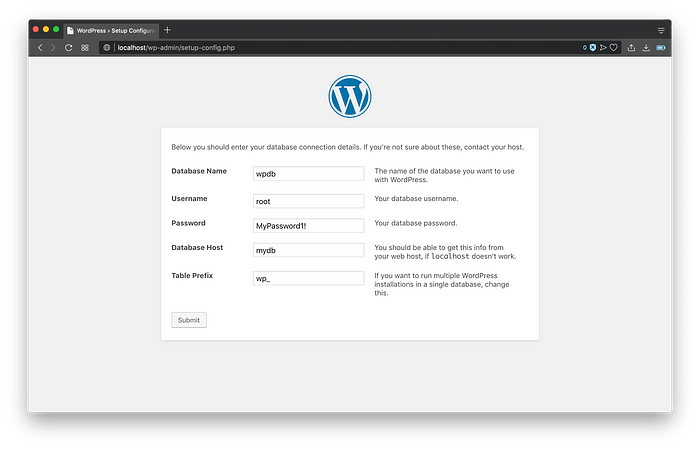
We’re going to set the root user with the password of MyPassword1! and a database name of wpdb:
docker run -d -p 3306:3306 -e MYSQL_ROOT_PASSWORD=MyPassword1! -e MYSQL_DATABASE=wpdb --name mydb mysql --default-authentication-plugin=mysql_native_passwordLet’s test the database by going into the container:
docker exec -it mydb /bin/bash;# while in the container run
mysql -u root -p# enter password when prompted
# [Expected Output]
# mysql># Execute the following to see the database
show databases;# [Expected Output]
# +--------------------+
# | Database           |
# +--------------------+
# | information_schema |
# | mysql              |
# | performance_schema |
# | sys                |
# | wpdb               |
# +--------------------+
# 5 rows in set (0.01 sec)
To exit the container, press ctrl + p and then ctrl + q.
Creating A Network
Next we’ll need to create a docker network and add both containers to allow them to communicate with each other.
docker network create wp-network;# see the network created
docker network ls;# [Expected Output]
# NETWORK ID          NAME                DRIVER              SCOPE
# 14a495fa5eee        wp-network          bridge              local
Next let’s add the containers and give them the same alias names:
docker network connect wp-network mydb --alias mydb;
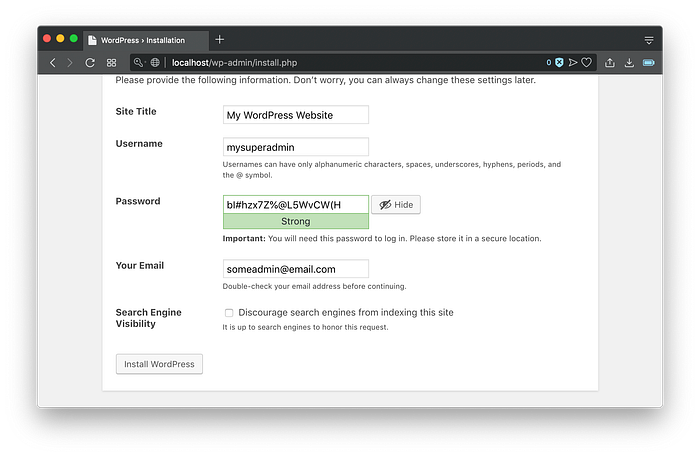
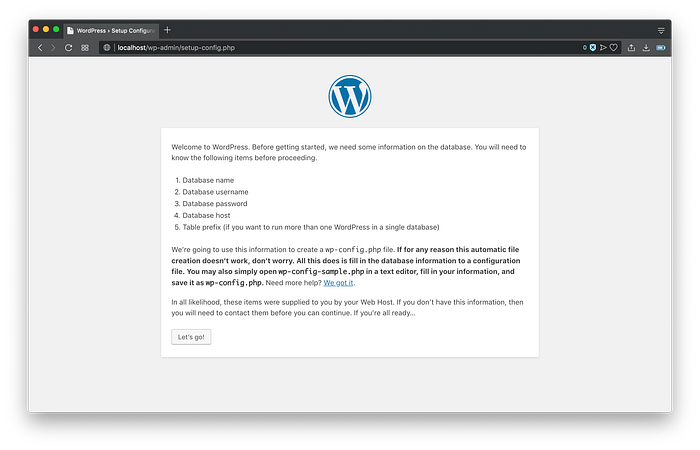
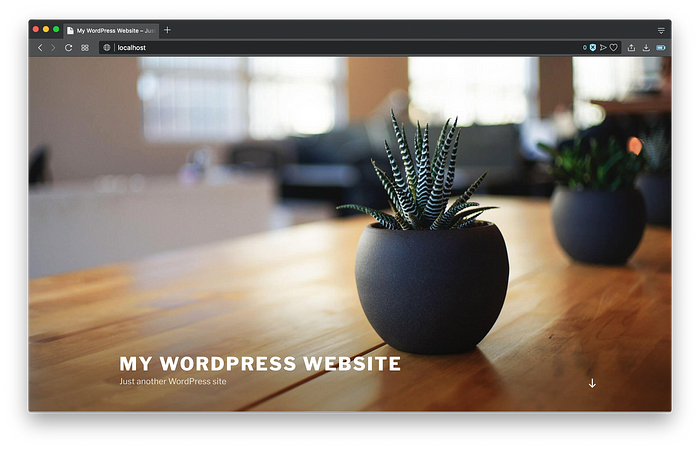
docker network connect wp-network mywp --alias mywp;Now let’s start the installation process:
Wrap up with some website details to finish the install:
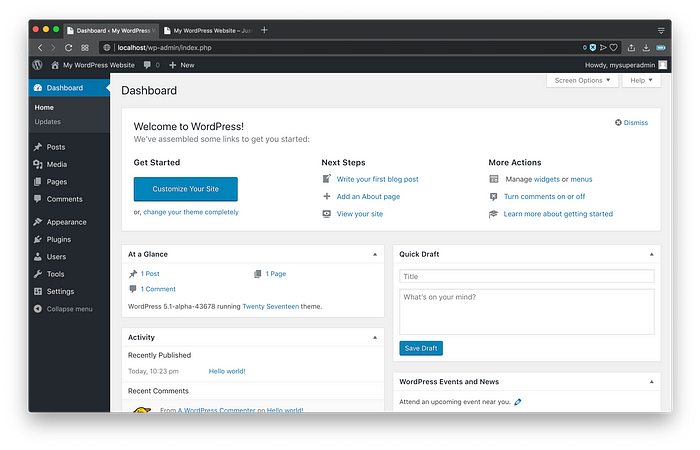
Et voilà:
Optional PhpMyAdmin
If we want to see the database and connect to it, we can read up on the Docker Hub PhpMyAdmin settings:
# create the container
docker run -d -e PMA_HOST=mydb -p 8888:80 --name myadmin phpmyadmin/phpmyadmin;# add it to the network to recognize 'mydb'
docker network connect wp-network myadmin --alias myadmin;
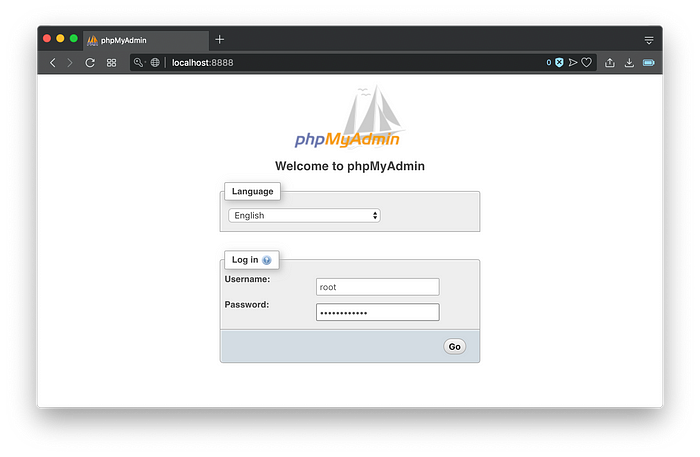
Open up http://localhost:8888 and enter the same mysql username and password:
And now you should see the WordPress database:

Optimizing For Local Development
Now that we’ve successfully build the environment, the database, and PhpMyAdmin, let’s create one script that will perform this task to get everything up and running as soon as we clone this repository.
Database Dump
First we’ll need to save the state of the database to be loadable again:
# in the repository directory
mkdir database;
In PhpMyAdmin we’re going to do an Export and save our wpdb.sql file to our newly created database directory:

Creating A Shell Script
We’ll example Docker Compose later as well but for the sake of automating all our tasks for localhost development with one script, we’ll create a shell script to be run.
/start.sh
# create a network
docker network create wp-network;# create database but mount the local database to load at start
docker run -d -v $PWD/database:/docker-entrypoint-initdb.d -p 3306:3306 -e MYSQL_ROOT_PASSWORD=MyPassword1! -e MYSQL_DATABASE=wpdb --network wp-network --name mydb mysql --default-authentication-plugin=mysql_native_password;# create phpmyadmin
docker run -d -e PMA_HOST=mydb -p 8888:80 --network wp-network --name myadmin phpmyadmin/phpmyadmin;# create environment
docker run -it -d -v $PWD:/var/www/localhost/htdocs -p 80:80 --network wp-network --name mywp lempenv;
Save the file and remove the other containers:
docker rm -f myadmin;
docker rm -f mydb;
docker rm -f mywp;
Let’s run the script
bash start.sh# [Expected Output]
# Error response from daemon: network with name wp-network already exists
# 26c4a9676f62fa2bc1dbdb8eee2898668ca793b7b86f45128d6e68b5b6c1ccd9
# e0f96e80c0f365889e4b10940e85521b6e24d3f900bea5bb6237b46625eaf46d
# 935e4b4e934b5f3129af17a5e1f31eb7b579f116a50ebaf3e24a903aec94582e
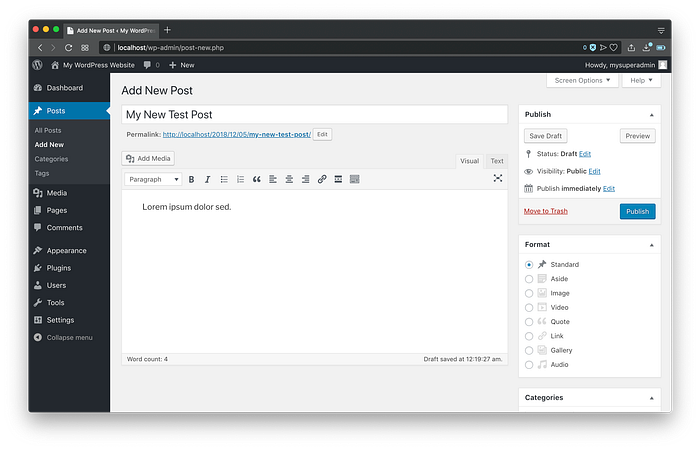
Open up http://localhost
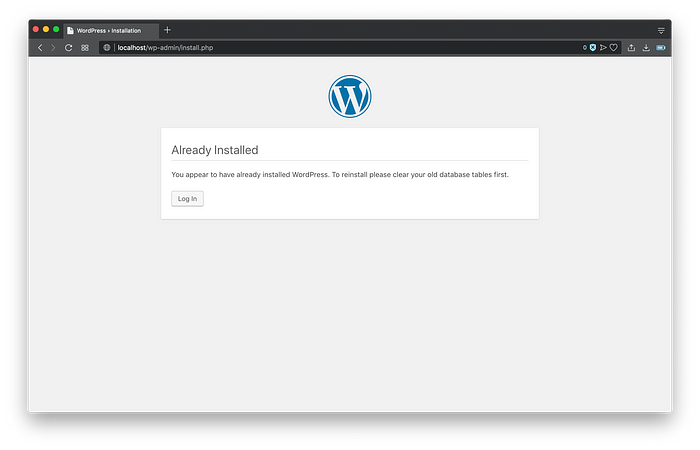
It’ll give us a database connection error. This is because the wp-config.php is configured to the old database. We’ll just need to re-initiate it:
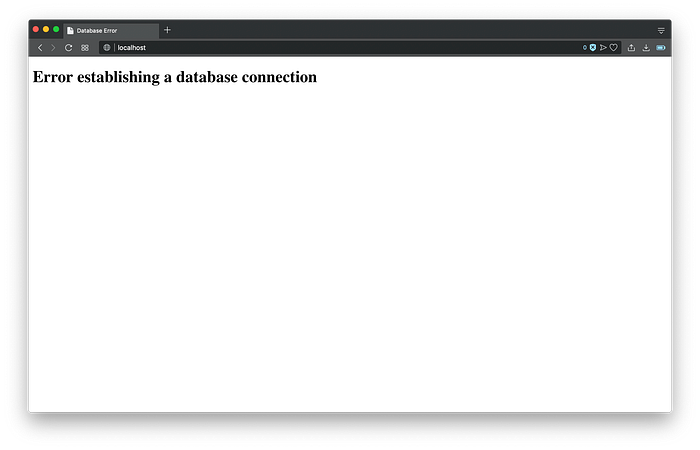
We’ll need to remove the wp-config.php file and start the installation process again.
rm wp-config.php
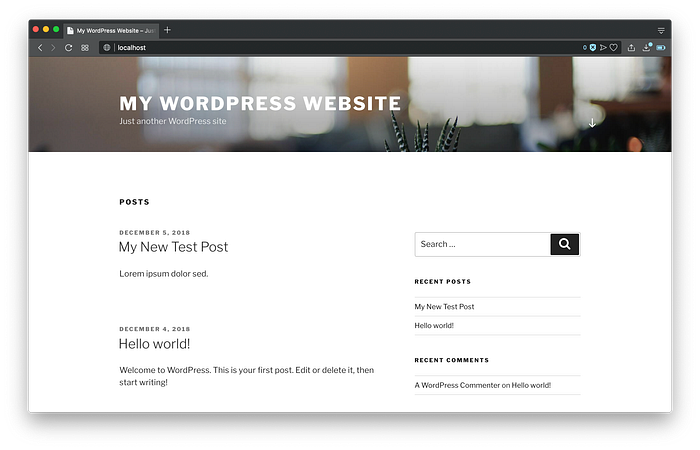
And it’s up and running:
Saving Database Changes
Next we’re going to make changes to our database, export them, and save them to our git repository for tracking.
Creating A Database Dump
While in the main repo directory, we’ll overwrite the database and start the process up again.
docker exec mydb sh -c 'exec mysqldump wpdb -uroot -p"$MYSQL_ROOT_PASSWORD"' > database/wpdb.sqlRemoving the containers:
docker rm -f myadmin;
docker rm -f mydb;
docker rm -f mywp;
Starting up the machines again with the new database:
bash start.shRemoving wp-config.php
rm wp-config.phpOpen up http://localhost
Wrapping Up
We’ve now successfully:
- Created NGINX & PHP environment for WordPress
- Connected a MySQL container
- Automated with a shell scripts to do local development
- Persisted the database in our git repository with a shell sc
What Could We Improve
- We could add a docker compose file
- Take things to the next level with Kubernetes
- Work on packaging the container as an image for the deployment process
If you want to read how I usually package things for deployment check out this article I wrote NodeJS Docker Deployment Process.
If you got value from this, and/or if you think this can be improved, please let me know in the comments.
Please share it on twitter 🐦 or other social media platforms. Thanks again for reading. 🙏
Please also follow me on twitter: @codingwithmanny and instagram at @codingwithmanny.